Uhhhh…sooo that wasn’t a week between my last post and this post. My bad. Uhm well…I’m planning on double posting tonight/tomorrow. I’ve made quite a lot of progress on my Saber cosplay so I’m gonna type up my triumphs and woes of what I’ve done so far.
Okay, for the bodice, this (front and back):
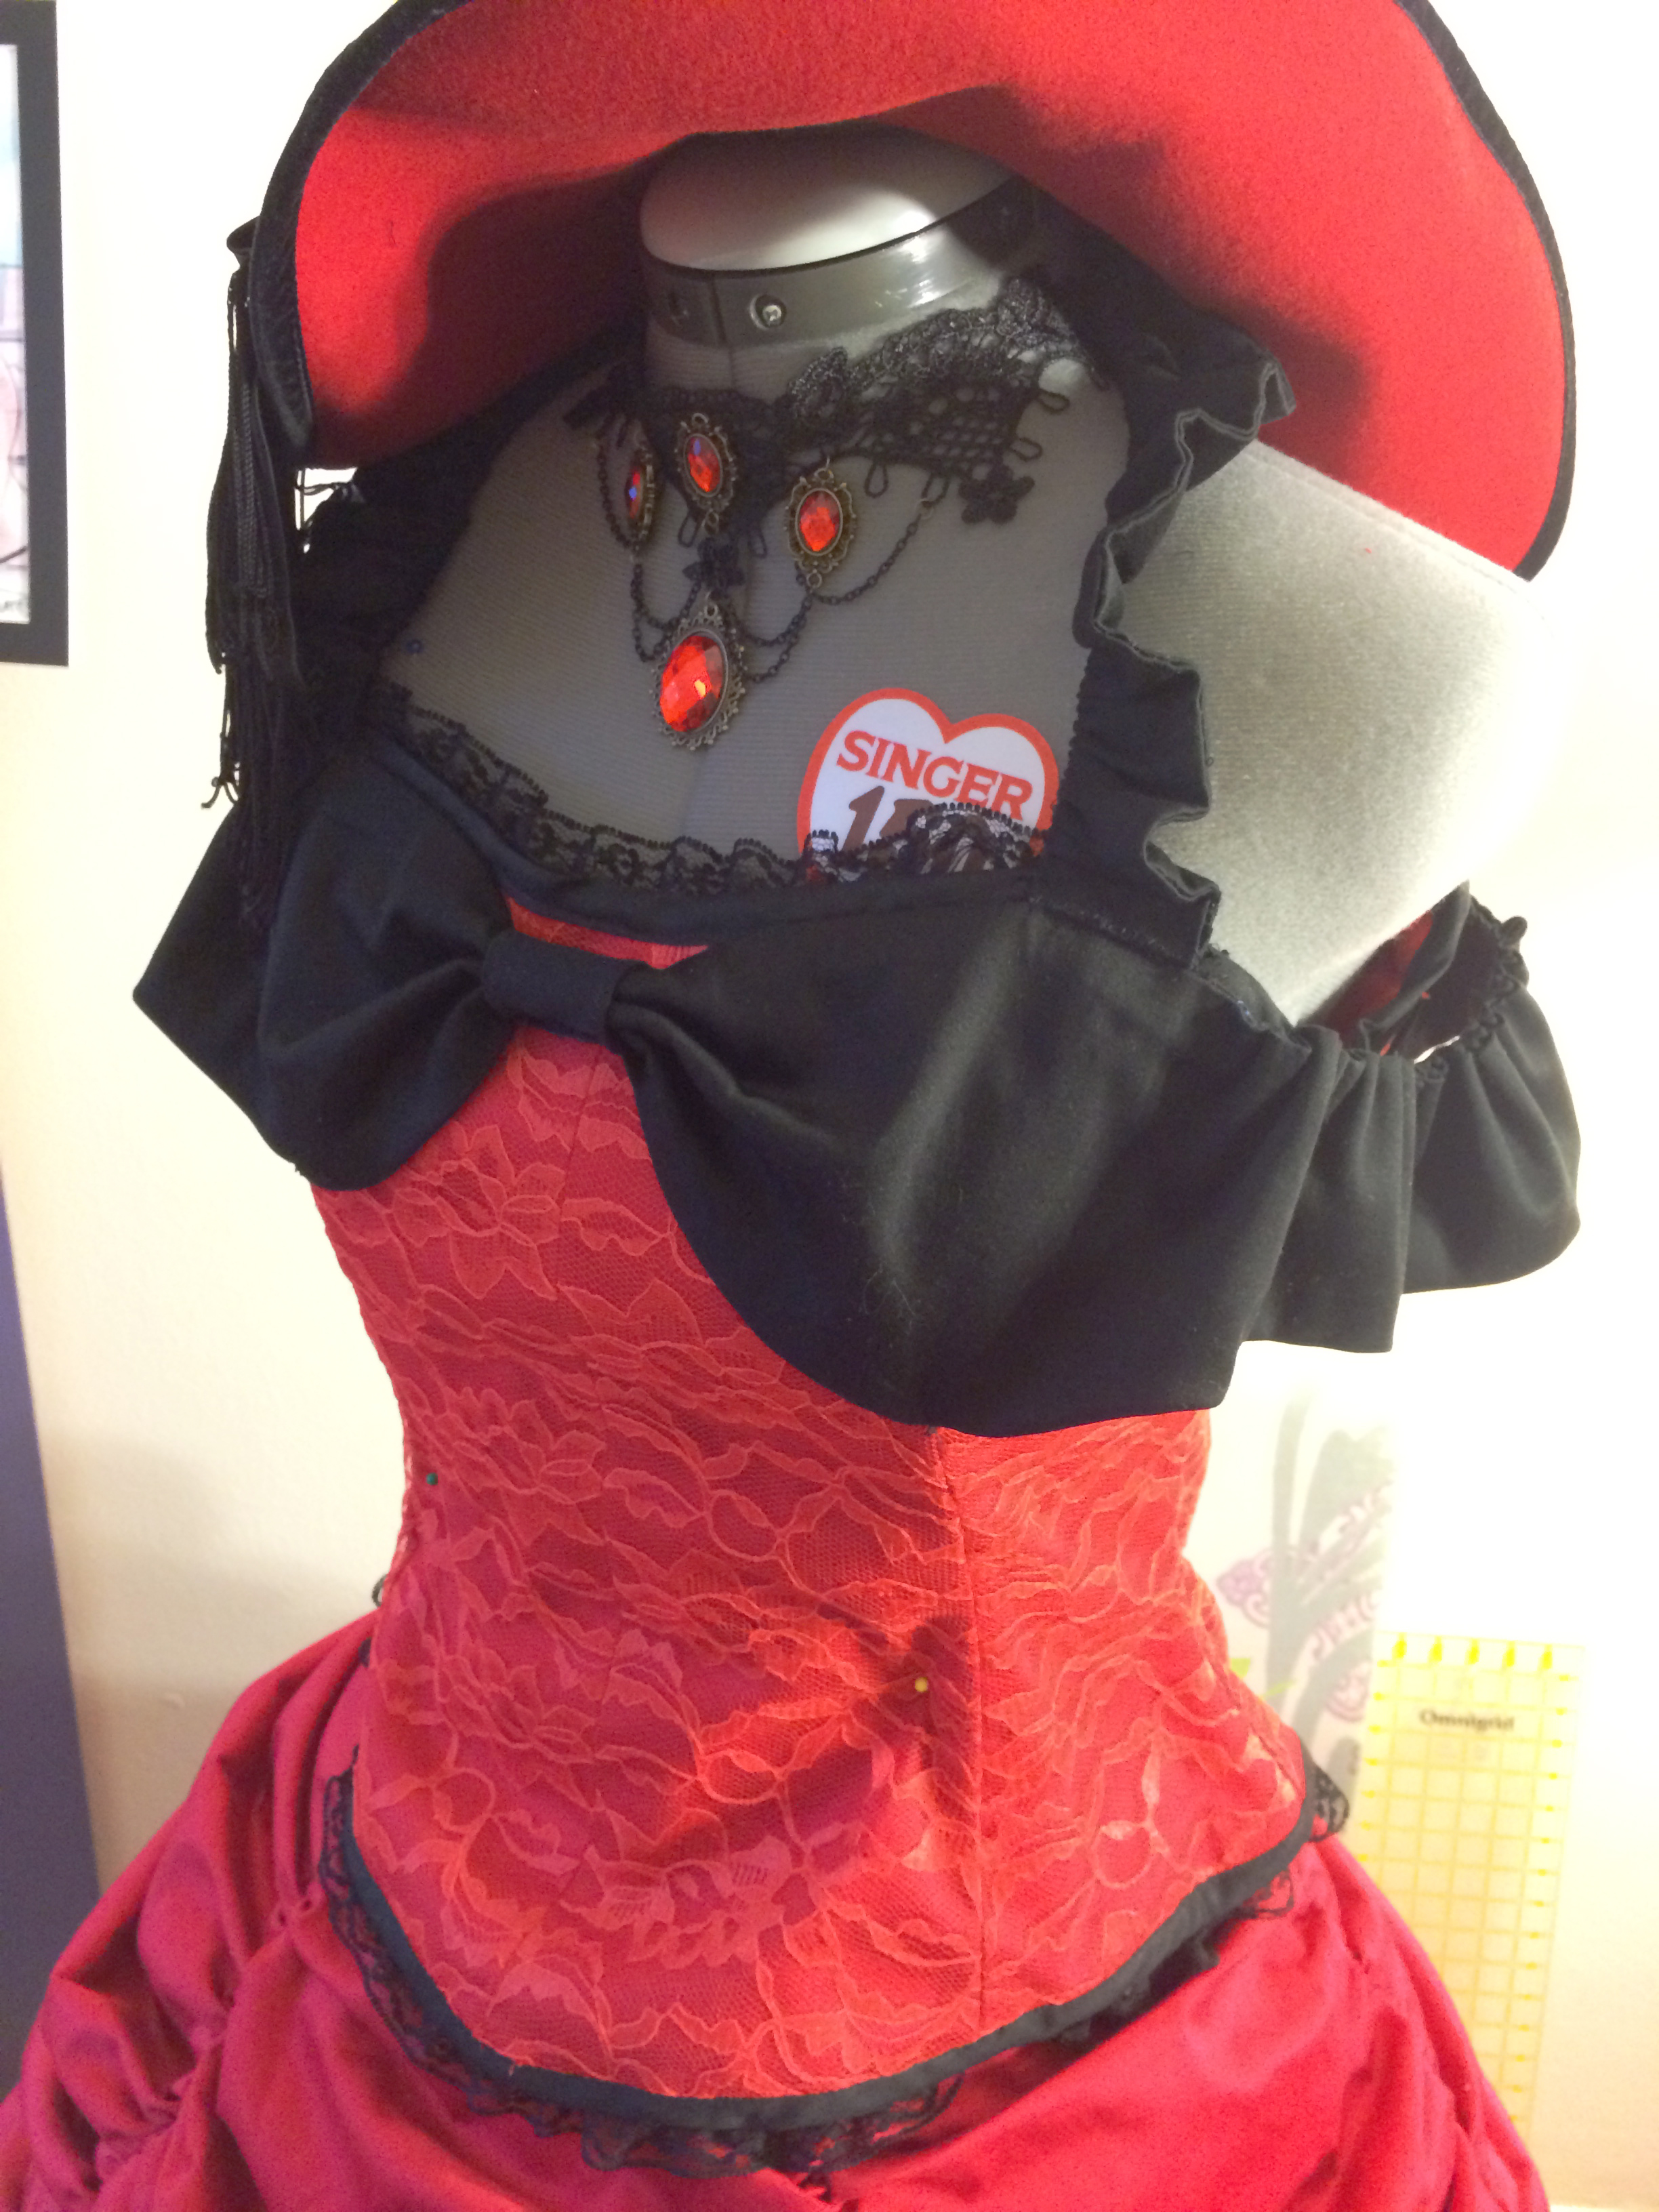

I drafted my own pattern for the pseudo-corset (I call it a pseudo-corset because it actually doesn’t cinch anything). I honestly don’t remember what my exact process was. I recall drafting fabric onto my mannequin that I had and then making a muslin with the pattern pieces I disassembled but it was way too big…basically my boobs are way small x__x. So I pinned the muslin draft while I wore it and took it in a lot. Took that apart and re-did a muslin. Made sure that one fit and then moved onto good fabric.
But yeah, super sorry that I don’t have more of a how-to guide to how I drafted the bodice to fit. I know that drafting, at least for me, is the biggest/most time consuming part of making a cosplay.
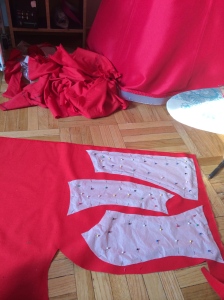
But yeah with all my pattern pieces laid out.

Here’s the general shape of them. If I find them in my mess of a room, I’ll scan them and upload them for those who might want to reference. It’s an 8 piece bodice. And as for the fabric I used two layers of cotton broadcloth, 1 layer of cotton sateen, 1 layer of red lace, black cotton sateen for the bow/straps, black bias tape to seal off the edges and I also used plastic boning on the seams to give it more shape.
Yay, cutting out fabric. Blah. So i cut each pattern piece out 4 times out of the cotton broadcloth, enough to make 2 bodices out of the cotton broadcloth. Sewed in all together and then pressed the seams. With seams together (bad sides together), I sewed like 0.25″ away down each seam. So one row of stitches on each side of a seam to make a tunnel to insert the boning. I have a picture down below (yeah…it’s upside down QQ…Wordpress won’t let me flip it but ya’ll get the idea). The center seam already has the “tunnel” created.


I did this for every single seam on the bodice, plus the back. I made two boning tunnels to keep the back upright. Then…then…I forgot to take pictures. QQ Ugh, my bad. Sometimes I get so excited while working on cosplay, I just make and forget to take progress pictures for when I’m going to write up tutorials. But I’ll still explain, and feel free to leave me a question down below if you’re confused. I will absolutely answer and do my best to help/explain!
Anyways, after making the tunnels for the boning. I cut and inserted the boning and made sure to sew a bit of a horizontal stitch across to keep the boning in the casing/tunnel. Afterwards, I cut the same bodice pattern pieces out of the main red fabric (red cotton sateen) and red lace. I put those on top of the cotton broadcloth (so top to bottom is, cotton, cotton, sateen, and then lace) and sewed them altogether.

I finished the outer edges off with bias tape. It was double fold, so super easy to use. Fold it in half over the ugly edge and then voila, disappears!
Next part was fun…hammering the grommets. Although it was just me probably who thought it was fun. My neighbors didn’t seem to enjoy it… x_x But yeah I used this kit from Amazon. Best kit ever. It has everything you need to install grommets and they stay in naiseeeee. (You just need to supply your own hammer or high heels…I recommend a hammer. Don’t ruin your heels.)

And then for the black bow/strap thing (which was inspired by Audrey Hepburn’s dress in Roman Holiday), I freehanded a pattern and cut it out of black sateen and then hand stitched that on to the main bodice.
And then I was done. Boom.
As an extra bonus…well…I call it a bonus, I don’t really know if it is a bonus, but here’s the hoopskirt I used. Bought it off of eBay, here. I got the 3 hoop skirt. It was nice and poofy but I think it could’ve been bigger, but then I think I would have had to size up for the four or five hoopskirt. Ah well next time, but yeah here’s a few pictures if there’s anybody shopping around for hoopskirts/not too sure what size hoopskirt to get.
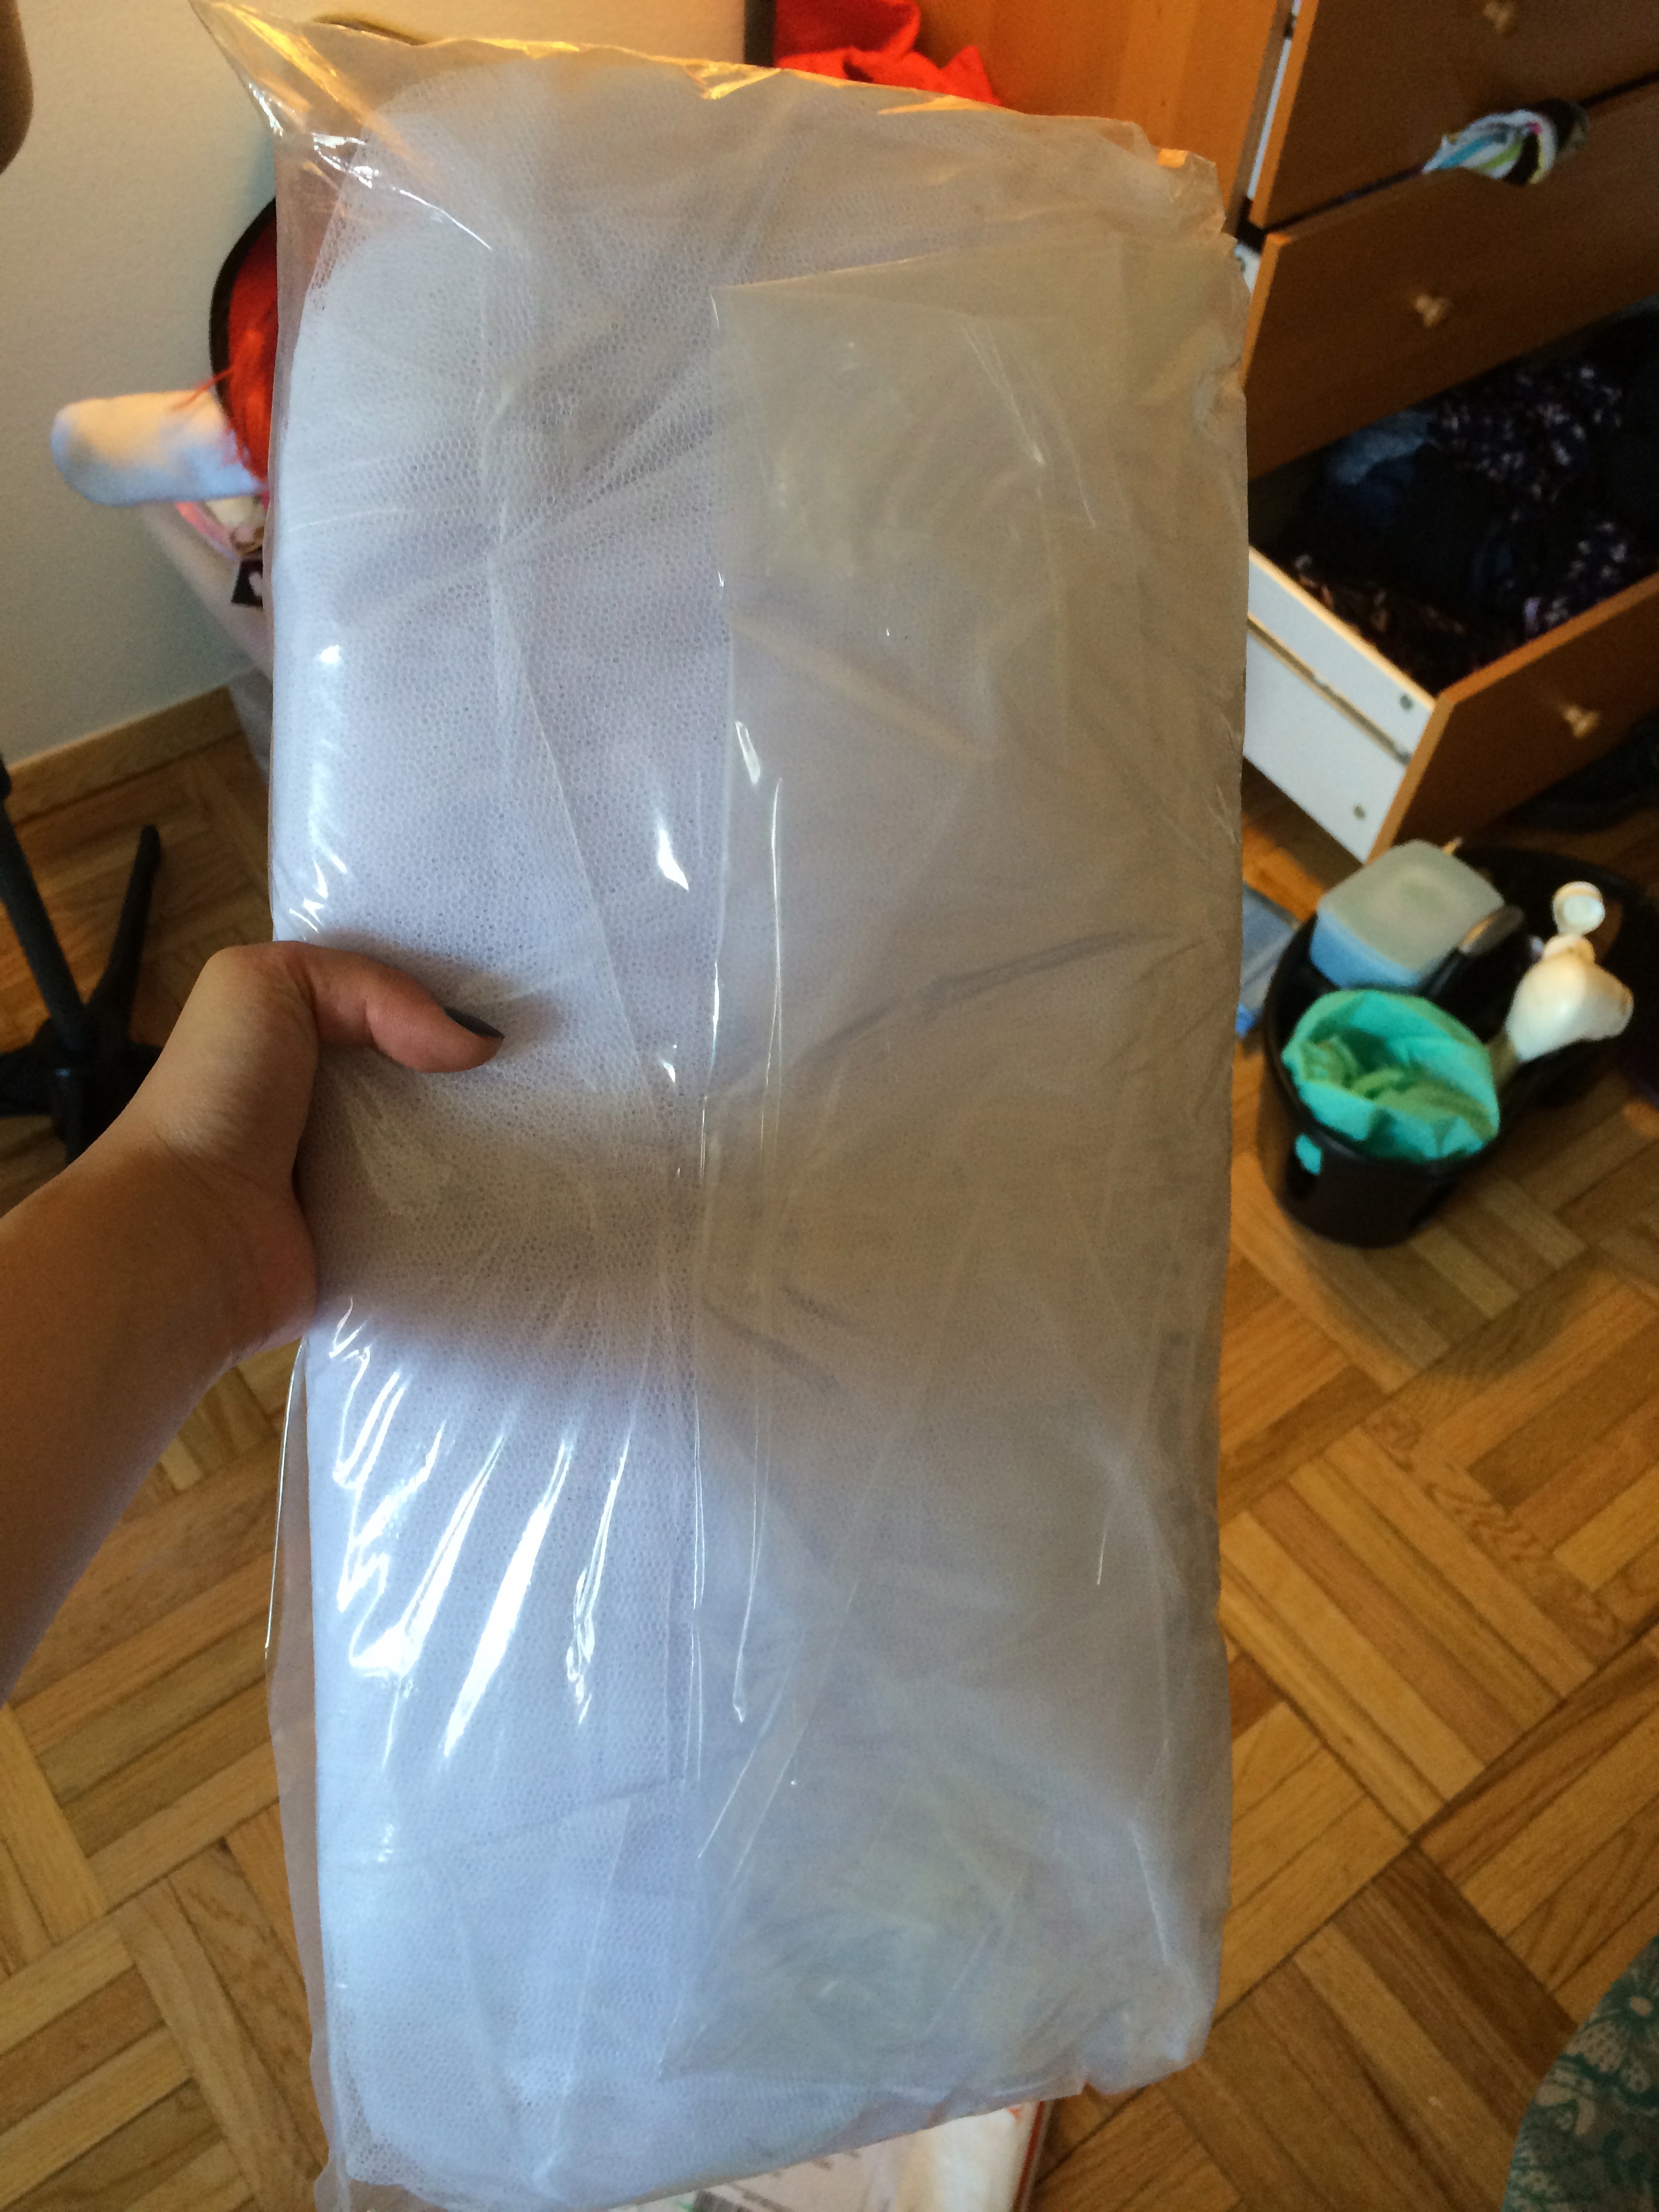
Came in a tiny package like this…and then it inflated to…

BOOM
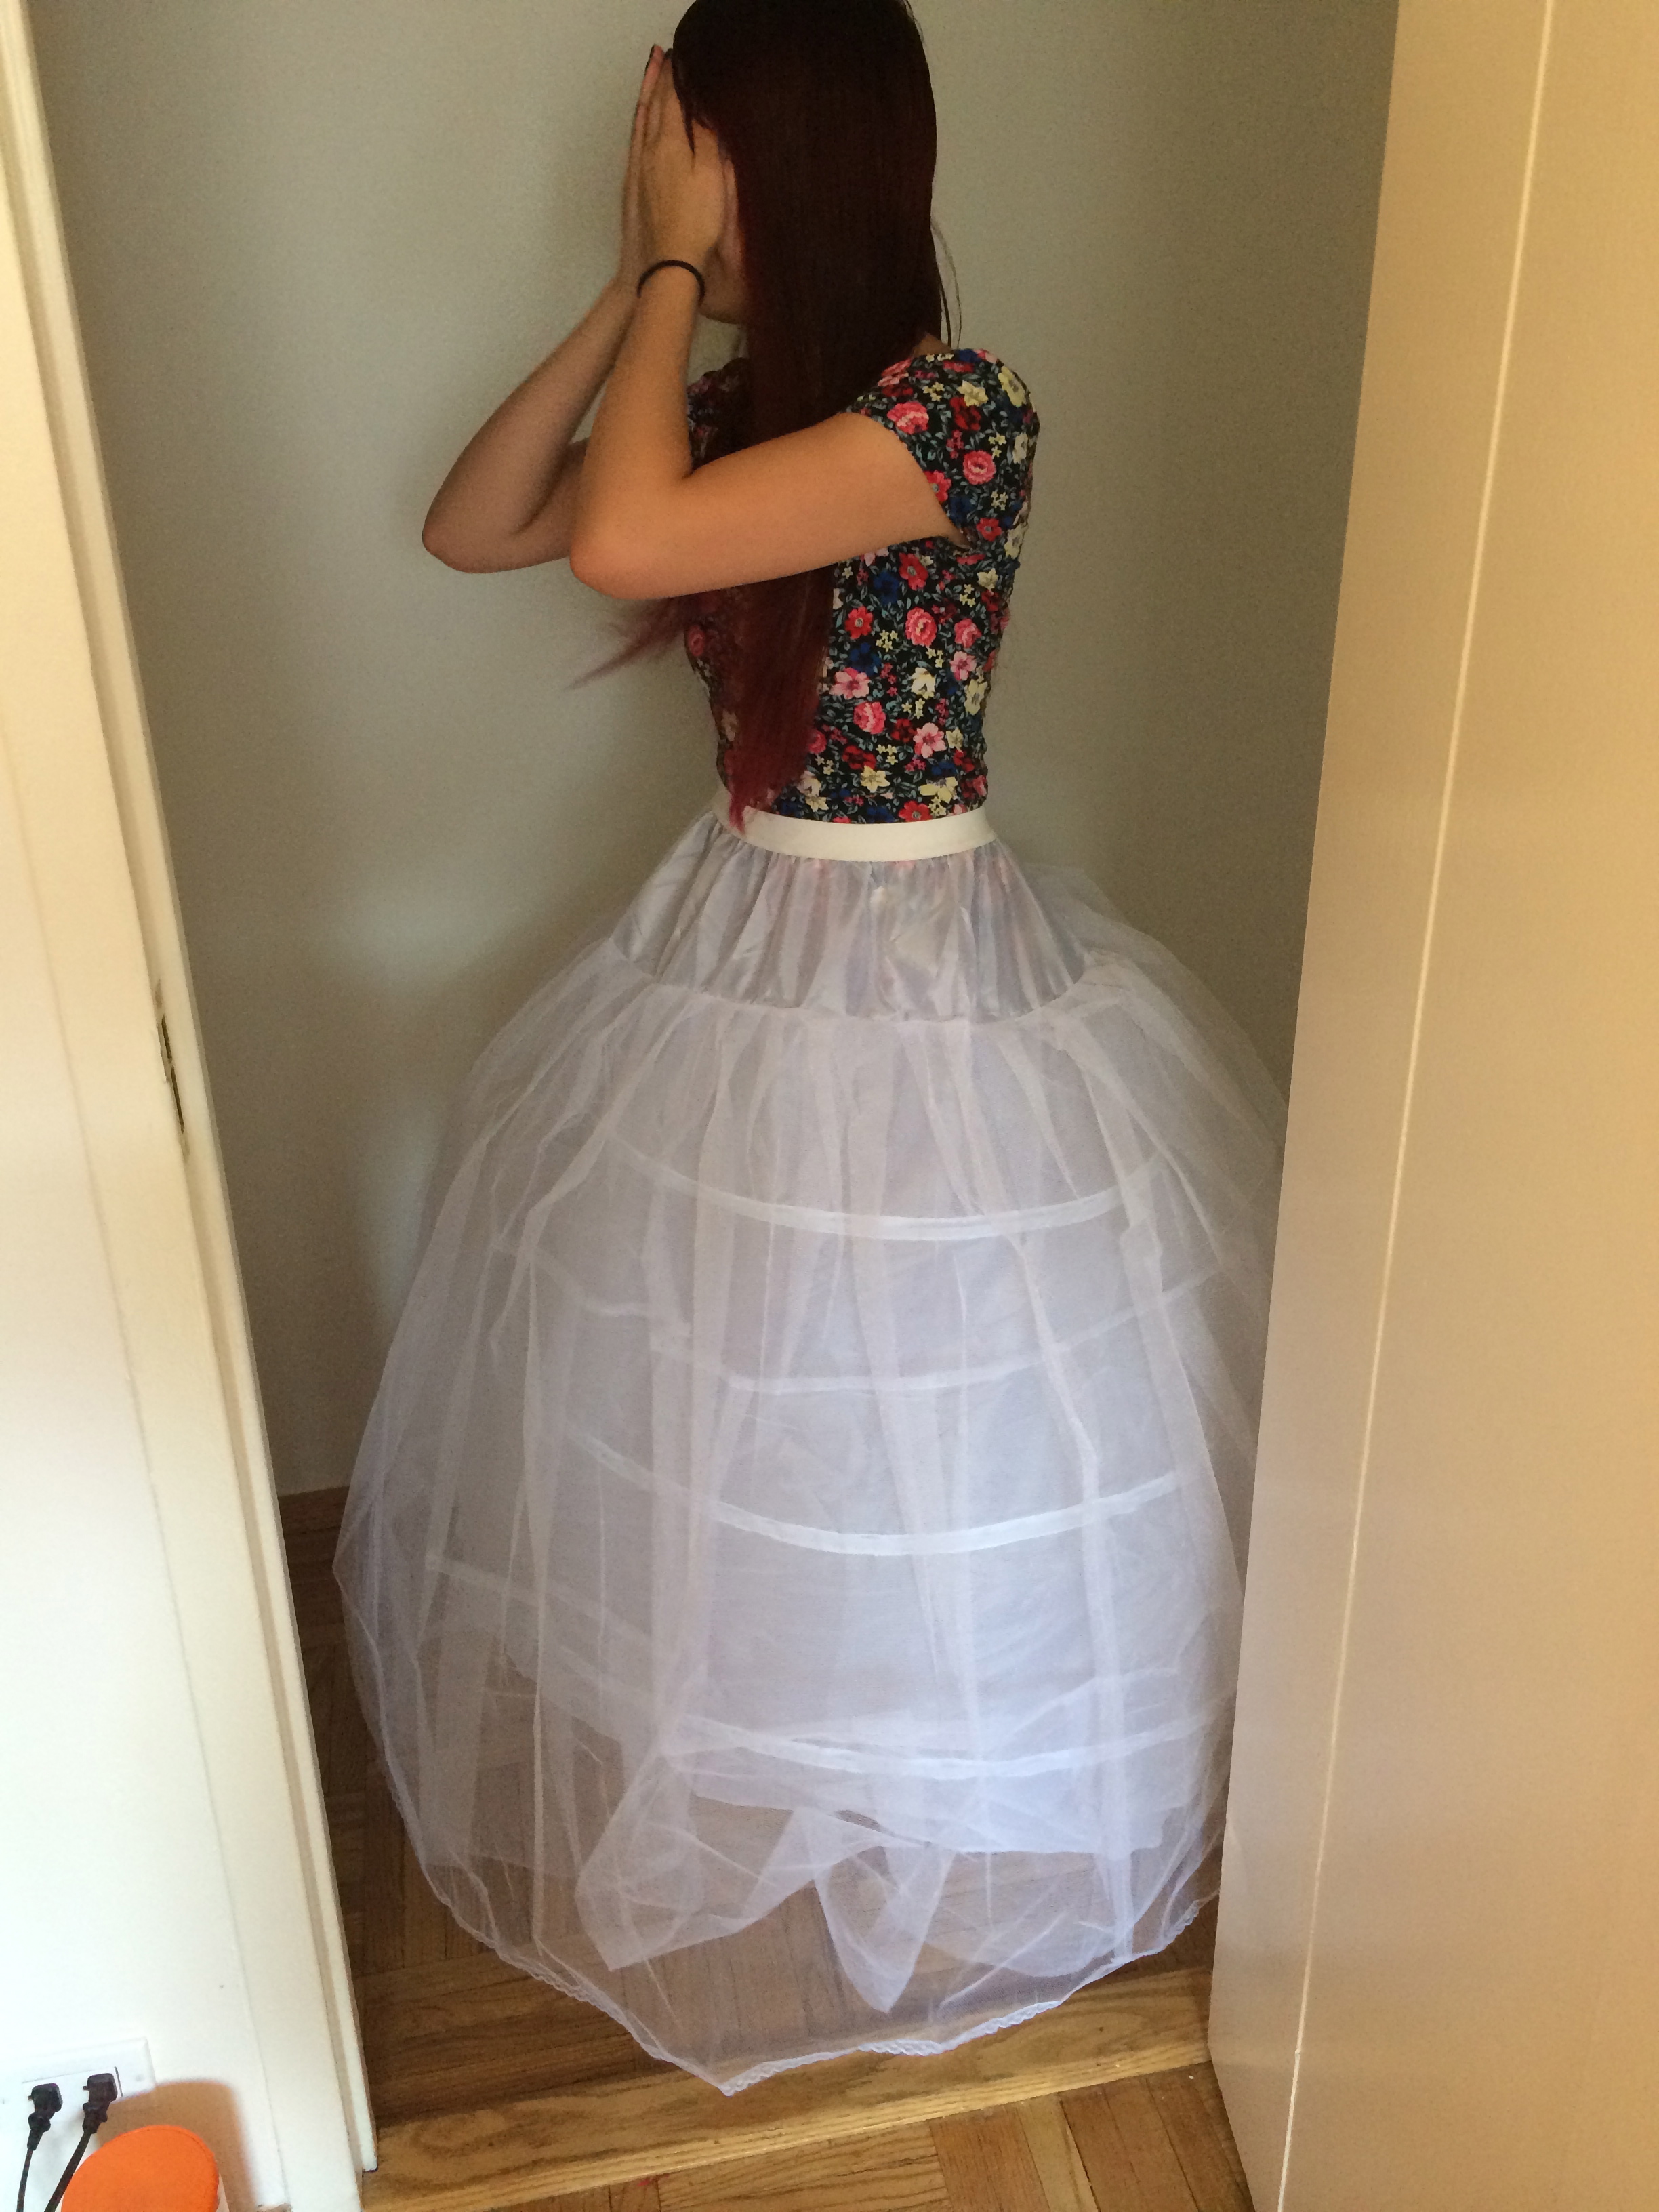
Here’s a me for scale. Ignore the awkward pose. I’m shy. JK not really.
Okay, that’s all I got for the making of Madam Red. I know it’s kinda skimpy at some parts, but leave me a comment if you’re confused and I’ll work on getting better at this tutorial/progress making stuff. 🙂
